
In WHM (WebHost Manager), the “Change Plan” feature typically refers to the ability to switch a hosting account from one hosting plan or package to another. This feature allows you to modify the resources, features, and limits associated with a particular hosting account.
Changing a plan in WHM involves upgrading, downgrading, or switching between different hosting packages offered by your hosting provider. These packages may vary in terms of disk space, bandwidth, number of email accounts, databases, and other resources.
For example, if you have a hosting account on a shared hosting plan with limited resources and you need more disk space, bandwidth, or additional features, you might choose to upgrade to a higher-tier plan that offers more resources and features.
Conversely, if you find that you’re not utilizing all the resources of your current plan or if you want to reduce costs, you might opt to downgrade to a lower-tier plan with fewer resources.
The “Change Plan” feature in WHM allows you to manage these transitions easily, ensuring that your hosting resources align with your current needs and budget. It’s essential to review the details of the new plan before making any changes to ensure that it meets your requirements. Additionally, consider any implications for existing websites, email accounts, databases, and other services associated with the hosting account.
Table of Contents
Change plan in WHM
To change a hosting plan for an account in WHM (WebHost Manager), you typically need to follow these steps:
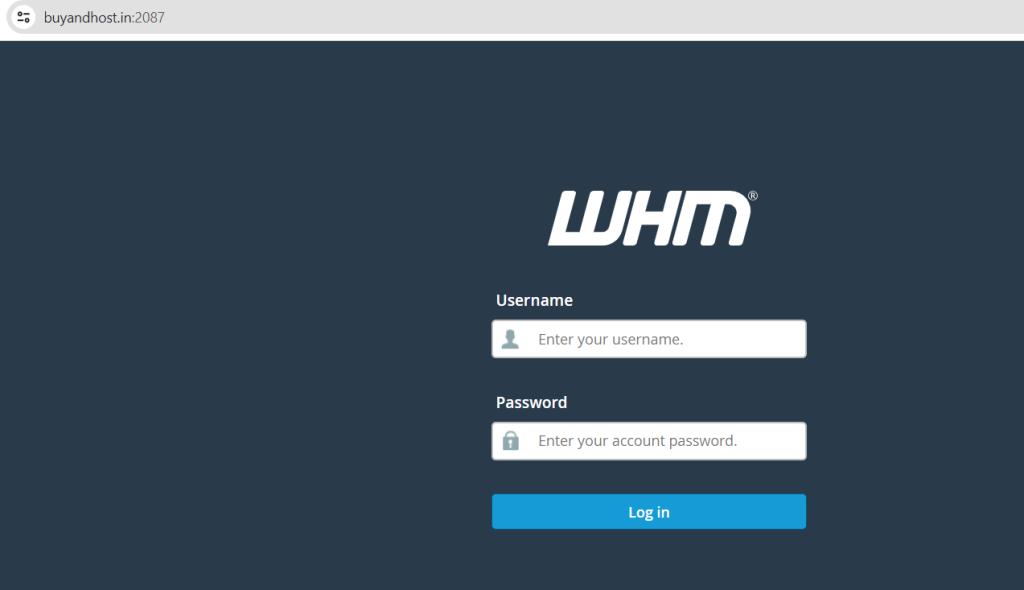
Log in to WHM: Access your WHM control panel using your credentials.
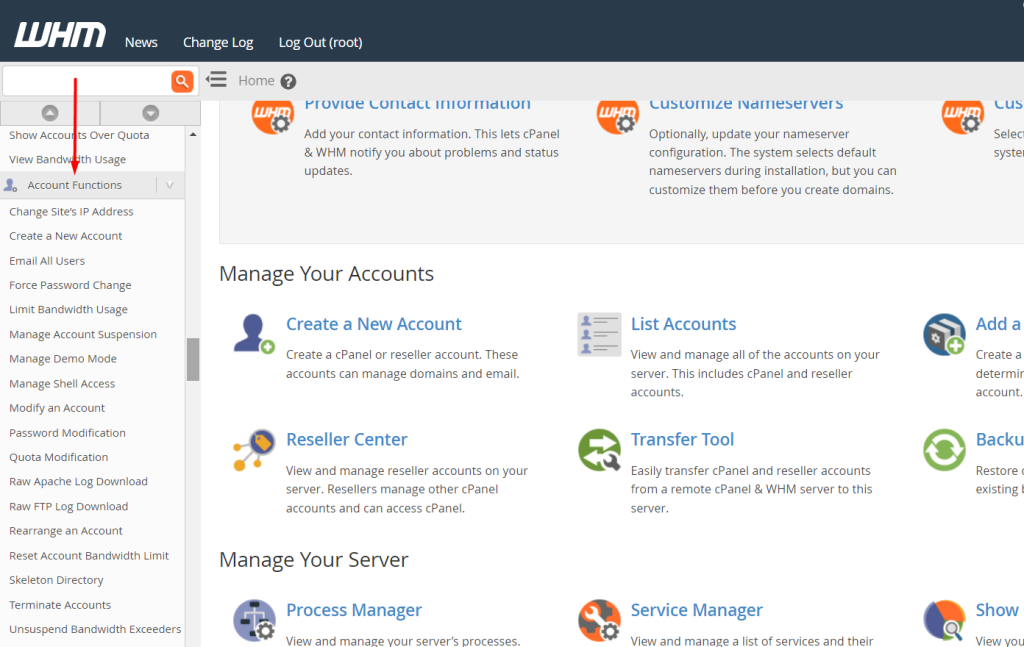
Navigate to Account Functions: Look for the “Account Functions” section in WHM.
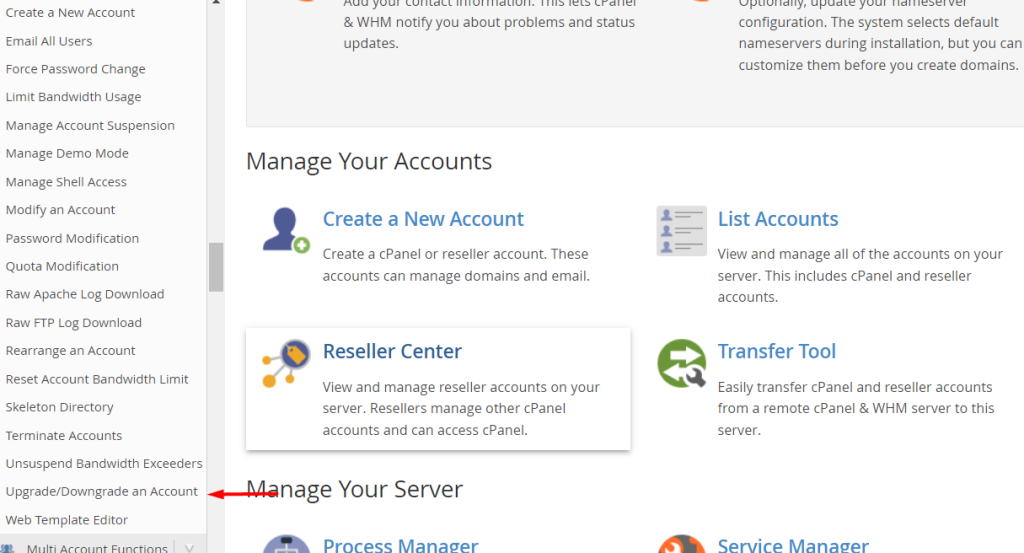
Select “Upgrade/Downgrade an Account”: This option is typically found within the “Account Functions” menu.
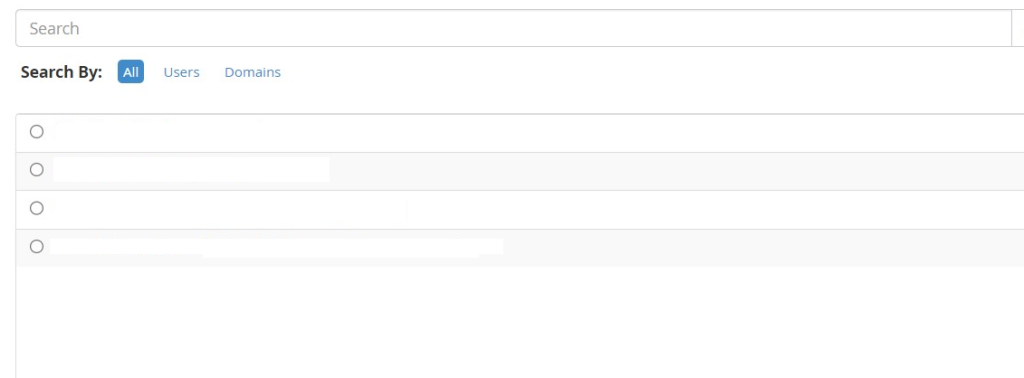
Choose the Account: Select the account for which you want to change the hosting plan.
Select the New Package: Choose the hosting plan/package that you want to upgrade or downgrade to from the available options.

Confirm the Changes: Review the changes you’re about to make, ensuring that everything looks correct.
Apply Changes: Once you’re satisfied, confirm the changes to apply the new hosting plan to the selected account.
Verify: After the changes are applied, verify that everything is working as expected on the account.
Remember, the exact steps and options may vary slightly depending on the specific version of WHM you’re using and any customizations made by your hosting provider. If you’re unsure about any step or if you encounter any issues, it’s a good idea to reach out to your hosting provider’s support for assistance.


